2/2
Attacking
| Offensive Awareness | ● | 77 |
|---|---|---|
| Ball Control | ● | 80 |
| Dribbling | ● | 81 |
| Tight Possession | ● | 76 |
| Low Pass | ● | 70 |
| Lofted Pass | ● | 73 |
| Finishing | ● | 75 |
| Heading | ● | 67 |
| Place Kicking | ● | 77 |
| Curl | ● | 79 |
Defending
| Defensive Awareness | ● | 48 |
|---|---|---|
| Defensive Engagement | ● | 58 |
| Tackling | ● | 51 |
| Aggression | ● | 63 |
| Goalkeeping | ● | 40 |
| Gk Catching | ● | 40 |
| GK Parrying | ● | 40 |
| GK Reflexes | ● | 40 |
| GK Reach | ● | 40 |
athleticism
| Speed | ● | 90 |
|---|---|---|
| Acceleration | ● | 90 |
| Kicking Power | ● | 90 |
| Jump | ● | 70 |
| Physical Contact | ● | 73 |
| Balance | ● | 75 |
| Stamina | ● | 76 |
| Weak Foot Usage | 2 | |
| Weak Foot Acc | 2 | |
| Form | 1 | |
| Injury Resistance | 0 |
Skills
Com Skills
Player Model
Other Versions

93
LMF
D
Marcus Rashford

93
CF
D
Marcus Rashford

93
LWF
D
Marcus Rashford

91
CF
D
Marcus Rashford

91
LWF
D
Marcus Rashford

88
93
LWF
B
Marcus Rashford

87
93
LWF
D
Marcus Rashford

84
97
LWF
B
Marcus Rashford

84
93
LWF
B
Marcus Rashford
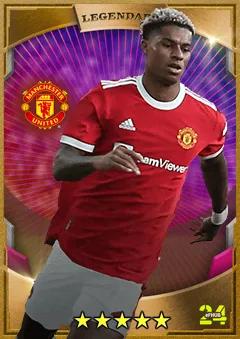
83
95
LWF
B
Marcus Rashford
83
87
LWF
D
Marcus Rashford

83
98
LWF
D
Marcus Rashford

83
99
LWF
D
Marcus Rashford

83
100
CF
B
Marcus Rashford

82
95
LWF
D
Marcus Rashford

82
97
CF
D
Marcus Rashford
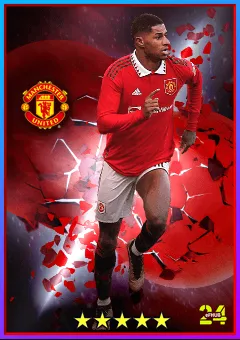
81
96
LWF
D
Marcus Rashford

81
97
LWF
D
Marcus Rashford
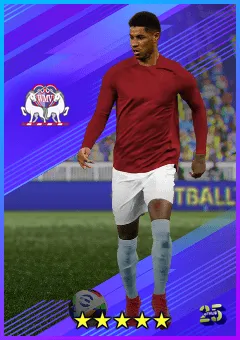
81
97
LWF
D
Marcus Rashford

81
98
LWF
D
Marcus Rashford

80
95
LWF
D
Marcus Rashford
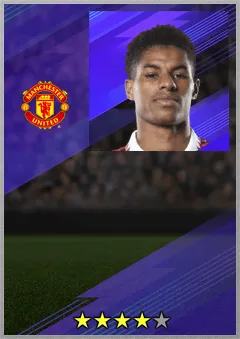
78
93
LWF
D
Marcus Rashford
